Your quads are on fire. You just drove a loaded sled across 50 meters (164 ft) at Station 2, the Sled Push, and now—with your heart rate still climbing—you step into the starting box of Station 3. The Sled Pull HYROX is the full-body grind that follows the push, and the whiplash is real. This is where you shift from leg drive to posterior chain dominance.
The HYROX Sled Pull demands another 50 meters (164 ft) of hand-over-hand grit. While the previous station was about quad power, the pull is a test of your lats, glutes, and grip strength. If your technique is sloppy, your biceps will blow out before you hit the halfway mark. Master the mechanical leverage and the official movement standards, and this station becomes a tactical recovery before facing the Burpee Broad Jumps.
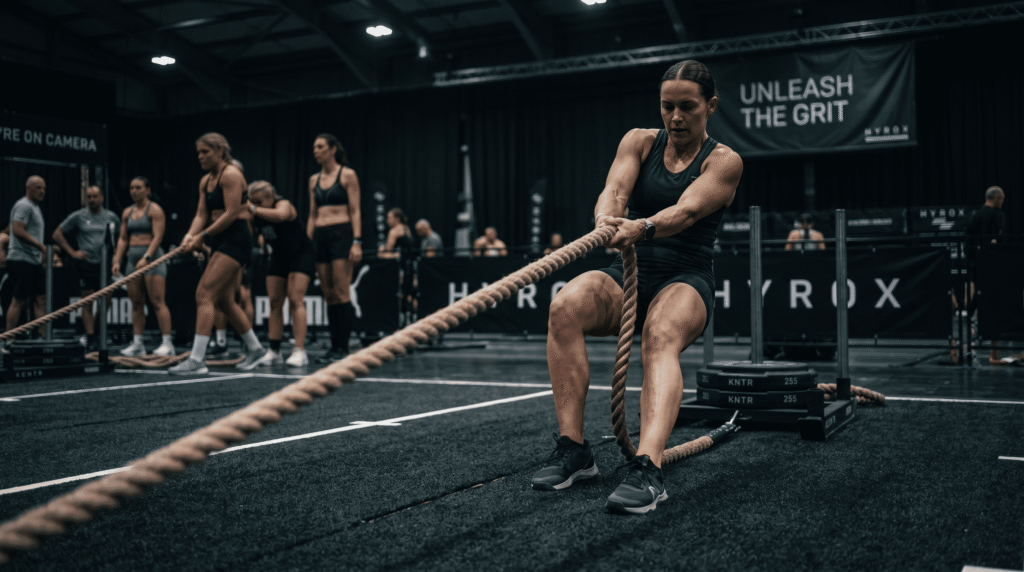
Technical Cue: Leveraging your bodyweight through a 20-30° lean and maintaining rope tension is critical for a dominant sled pull hyrox split.
THE RULES THAT DEFINE YOUR RACE
Before your hands touch that rope on race day, you need to know the technical HYROX standards cold. Get these wrong and you’ll earn a penalty, stall out mid-pull, or waste energy fighting the mechanics instead of the sled.
Complete pull – the sled must clear the finish line to finalize the station.
You must remain within the marked zone; crossing the line results in a 1-minute penalty.
The rope must remain between your legs and cannot be wrapped around your body.
Pull hand-over-hand from the rear. You may step backward within the box for leverage.
Once the rope marker reaches you, walk to the front of the box to reset for the next pull.
Repeat the 5 m (16.4 ft) reset cycle 10 times to complete the full 50 m (164 ft) requirement.
The 16.4 ft (5 m) Movement Box
Stand at the far end of your box, lean back, and pull hand-over-hand until the marker reaches you. Walk forward to reset while staying strictly within the boundaries following the official HYROX rules. Crossing the line triggers a penalty.
The no-crossed-feet rule is a common pitfall. When fatigue from the Sled Push sets in, your focus narrows and footwork gets sloppy. Keep your feet hip-width apart throughout the entire 50 m (164 ft) pull, take measured backward steps, and never let one foot cross in front of the other. Train this cadence until it’s automatic.
SLED PULL WEIGHT BY CATEGORY
| Category | Added Plates | Total Weight | Distance |
|---|---|---|---|
| Women’s Open / Relay OPEN |
+46 KG+101.4 LB | 78 KG172 LB | 50 m (164 ft) |
| Men’s Open / Women Pro OPEN/PRO |
+71 KG+156.5 LB | 103 KG227 LB | 50 m (164 ft) |
| Men’s Pro PRO |
+121 KG+266.7 LB | 153 KG337 LB | 50 m (164 ft) |
The HYROX sled pull weight depends strictly on your HYROX category. While the load is lighter than the push, the sled base alone weighs 32 kg (70.5 lb). Clearing the 164 ft (50 m) distance effectively requires mastering the hand-over-hand rhythm under fatigue.
Notice that the HYROX sled weight for the Pull is significantly lighter than the Sled Push — but don’t let that fool you. The pulling mechanics and the friction load create a metabolic stimulus that punishes a weak posterior chain. Train at your exact sled pull competition weight in dedicated sessions. Replicating the 164 ft (50 m) distance under fatigue is the only way to own the rope.
WHAT’S ACTUALLY DRIVING THE SLED
Ask a casual competitor what the sled pull muscles worked are, and they’ll say «arms.» That answer explains why they’re stalling out at the 100-foot (30 m) mark. The real answer — the one that clears the 164 ft (50 m) distance efficiently — requires your entire posterior chain.
Primary movers — your pull engine:
Secondary stabilizers:
The real performance differentiator is glute and hip engagement on every backward step. Unlike the Sled Push, where quads dominate, every time you drive back here, your trailing glute locks your hips into the lean angle that amplifies your power. Athletes who simply step and yank — no hip drive — are doing a fraction of the work available to them.
BODYWEIGHT LEAN VS. ARM-ONLY PULL
The sled pull HYROX technique debate comes down to one question: are you using your bodyweight to move the sled, or are you using your biceps? The answer separates station-busters from station-builders. Mastering the mechanical advantage over your prescribed weight is non-negotiable.
Yanking backward using biceps and shoulders as primary movers. This fries your forearms inside the first 65 feet (20 m) and produces significantly less force per stroke.
Loading backward into a pronounced lean, similar to the leverage used in the Sled Push. Your bodyweight and glutes pull the sled. Arms coordinate the rope, not the load.
Locking in the bodyweight lean allows you to maintain a consistent rhythm. Each backward step should be a controlled pulse of force, moving the sled across the 164 ft (50 m) turf rather than in jerky, exhausting lunges.
STEP-BACK TECHNICAL CUES — THE FULL SEQUENCE
To master the Sled Pull HYROX, you must stop thinking about it as a «pull» and start seeing it as a coordinated bodyweight lean. Your hands are just the anchor; your hips and glutes are the engine. Verify your category weights to adjust your intensity.
Primary Execution Strategy
WHAT’S WRECKING YOUR SLED PULL TIME
After analyzing hundreds of competition videos, these are the tactical errors that show up again and again during the Sled Pull HYROX. Fix these following the official standards to avoid redlining at Station 3.
Yanking with biceps will exhaust your grip before the 65-foot (20 m) mark. Lean back 20-30° and use your posterior chain as the engine.
Letting the rope pile up creates tripping hazards. Toss the rope to the side to keep your path clear for the entire 164 ft (50 m) duration.
Fatigue from the Sled Push causes power leaks. Keep your chest tall and core braced through every single segment.
Exiting the 16.4 ft (5 m) zone triggers an immediate penalty. Train your spatial awareness to know exactly when you hit the boundaries.
FLUSHING THE FOREARMS: THE ROXZONE RUN TO STATION 4
Here’s the problem nobody talks about: after the HYROX Sled Pull, your forearms are lit. The cumulative grip demand from 164 ft (50 m) of rope work fills your flexors with lactic acid. If you carry that into the Burpee Broad Jumps without a strategy, your push-up lockout fails and your splits collapse.
The Roxzone transition between Station 3 and Station 4 is your active flush window. As you exit the box, open your hands completely—fingers spread, palms facing outboard—and shake your arms loosely. This accelerates venous return and blood flow, clearing lactate faster than a closed fist ever will.
Breathing protocol: exhale forcefully through pursed lips for the first 30 seconds of the transition. This activates your parasympathetic system, lowers cortisol, and brings your heart rate down faster. Arriving at the burpees at 85% max HR instead of 95% means your first 10 reps are controlled and sustainable.
OWN THE ROPE
The Sled Pull HYROX is where races are often won by the technically efficient, not just the strongest. It is a 164 ft (50 m) battle of leverage and lactic threshold. Consistent preparation is the only thing that turns a soul-crushing station into a strategic advantage.
Train your posterior chain, master the bodyweight lean, and own your reset rhythm following the official movement standards. When you treat the rope as an extension of your own power, those 10 passes through the 16.4 ft (5 m) box become a clinical display of work capacity.
Sled Pull cleared. Next stop: The Burpee Broad Jumps →